Introduction
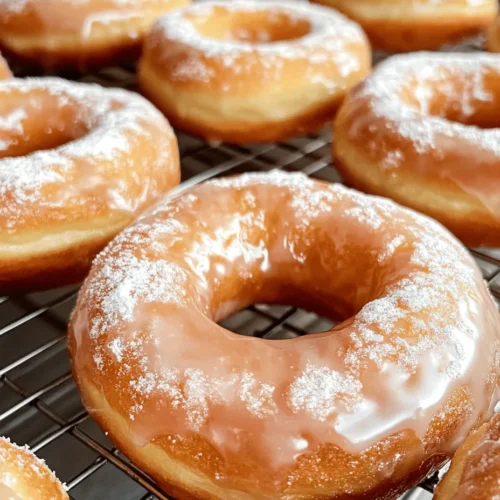
There’s something undeniably enchanting about glazed donuts. The moment you take a bite, the sweet, glossy exterior gives way to a soft, pillowy interior that melts in your mouth, creating an experience that’s hard to resist. Whether enjoyed alongside a steaming cup of coffee in the morning or as a delightful afternoon snack, glazed donuts have a special ability to elevate any moment. They evoke feelings of comfort and nostalgia, reminding many of childhood visits to the local bakery or special family gatherings where homemade treats were the centerpiece.
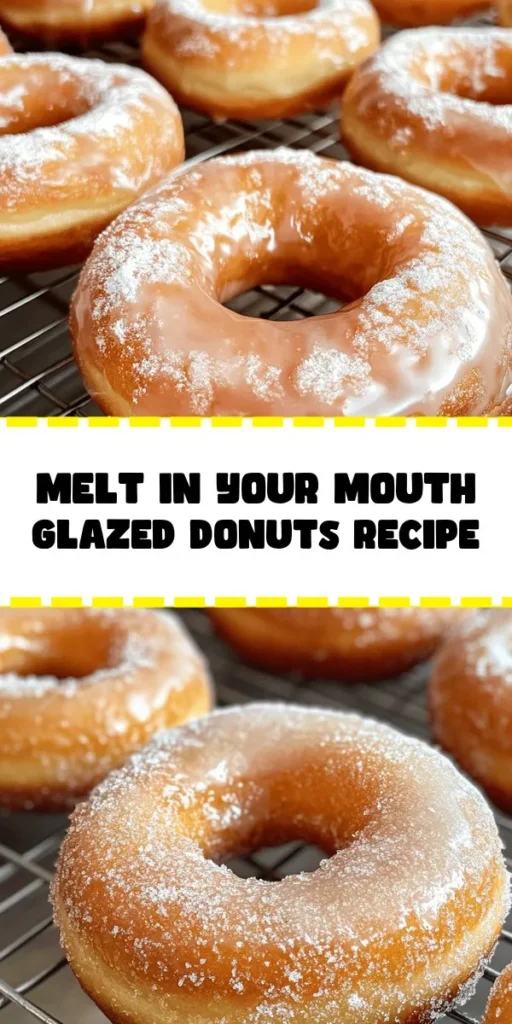
While store-bought options are plentiful, nothing compares to the joy of making your very own donuts from scratch. Homemade treats carry a unique charm, allowing you to customize flavors and ensure freshness. Today, we’re diving into the recipe for Melt In Your Mouth Glazed Donuts. This recipe not only promises a delicious outcome but also provides a rewarding cooking experience that will leave your kitchen filled with delightful aromas.
These donuts are characterized by their tender texture and rich flavor, achieved through a careful balance of ingredients and techniques. As you prepare to embark on this culinary adventure, you’ll learn how to create donuts that are not only visually appealing but also irresistibly delicious, with a glaze that adds the perfect finishing touch. Let’s explore the essential components that make these donuts truly melt-in-your-mouth.
Understanding the Ingredients
To create the perfect Melt In Your Mouth Glazed Donuts, it’s essential to understand the role each ingredient plays in achieving that delectable texture and flavor. Here’s a closer look at the key ingredients that will transform your kitchen into a donut lover’s paradise.
All-Purpose Flour
All-purpose flour serves as the backbone of the donut dough. Its balanced protein content helps create a structure that’s neither too dense nor too airy. The right amount of gluten formation is crucial for achieving that ideal soft and tender texture that we associate with premium donuts. When measuring flour, it’s important to avoid packing it into your measuring cup, as this can lead to overly dense donuts. Instead, spoon the flour into the cup and level it off with a knife for accuracy.
Granulated Sugar
Sugar is more than just a sweetener in this recipe; it plays a vital role in the texture and color of the donuts. Granulated sugar adds sweetness and helps with browning during frying, resulting in a beautiful golden exterior. Additionally, sugar contributes to the overall moisture of the donuts, ensuring they remain soft and tender. A careful balance of sugar enhances the flavor profile without overpowering the other ingredients.
Baking Powder and Baking Soda
These two leavening agents are essential for creating the light, airy texture we desire in our donuts. Baking powder serves as a double-acting leavening agent, releasing carbon dioxide when mixed with wet ingredients and again when heated. This helps the donuts rise as they cook. Baking soda, on the other hand, requires an acid to activate, which is provided by the buttermilk in our recipe. The combination of both ensures that the donuts puff up beautifully, creating that signature melt-in-your-mouth experience.
Buttermilk
Buttermilk is a key ingredient that contributes to both moisture and flavor. Its acidity helps activate the baking soda, allowing for proper leavening. Additionally, buttermilk adds a slight tang that balances the sweetness of the sugar, creating a more complex flavor profile. The fat content in buttermilk also contributes to the richness of the donuts, enhancing their overall texture.
Egg
The egg in this recipe acts as a binding agent, helping to hold the dough together while contributing to its structure. Eggs also enrich the flavor and add moisture, resulting in a soft and tender crumb. When incorporating the egg, ensure it is at room temperature, as this allows for better incorporation into the dough, leading to a smoother texture.
Unsalted Butter
Butter is a critical ingredient for achieving richness in flavor and a tender crumb. Using unsalted butter allows for better control over the overall saltiness of the donuts. The fat in butter coats the flour proteins, limiting gluten formation and ensuring that our donuts remain soft and melt-in-your-mouth tender. When using butter, it’s best to melt it gently to avoid overheating, which can change its properties.
Vanilla Extract
Vanilla extract is a flavor enhancer that elevates the overall taste of the donuts. It adds warmth and depth, making each bite more enjoyable. High-quality vanilla extract is worth the investment, as it significantly impacts the final flavor of the donuts. Additionally, you can experiment with different flavorings, such as almond extract or citrus zest, to create a unique twist on the classic recipe.
Glaze Components
The glaze is the crowning glory of our donuts, providing a sweet, glossy finish that makes them irresistible. The main components of the glaze include powdered sugar, milk, and vanilla extract. Powdered sugar dissolves easily and creates a smooth texture, while milk helps achieve the desired consistency for dipping. The addition of vanilla extract enhances the flavor, ensuring that the glaze complements the donuts perfectly.
Step-by-Step Instructions for Perfect Donuts
Now that we’ve covered the essential ingredients, it’s time to roll up our sleeves and get started on creating these delicious Melt In Your Mouth Glazed Donuts. The process is straightforward, but there are a few key steps to ensure your donuts turn out perfectly.
Preparing the Dough
The first step in making your glazed donuts is preparing the dough. This is where the magic begins, as you combine the dry and wet ingredients to create a cohesive mixture.
1. Thorough Mixing of Dry Ingredients: Start by sifting together your all-purpose flour, granulated sugar, baking powder, baking soda, and a pinch of salt in a large mixing bowl. Sifting helps to aerate the flour and ensures that the leavening agents are evenly distributed throughout the mixture. This is a crucial step, as it sets the foundation for the texture of your donuts.
2. Achieving the Right Consistency: Once your dry ingredients are well combined, you’ll want to create a well in the center of the mixture. This is where you’ll add your wet ingredients. The consistency of your dry mix should be light and fluffy, without any lumps. If you notice any clumps, use a whisk to break them up and ensure an even mixture.
Combining Wet Ingredients
Next, it’s time to mix your wet ingredients, which includes the buttermilk, melted unsalted butter, egg, and vanilla extract.
1. Mixing Process for Wet Ingredients: In a separate bowl, combine the buttermilk, melted butter, egg, and vanilla extract. Whisk these ingredients together until fully blended. The goal here is to create a smooth mixture that will be easily incorporated into the dry ingredients.
2. Ensuring a Smooth Blend: As you whisk, pay attention to the consistency of the wet ingredients. They should be well combined, with no visible chunks of butter or egg. If you notice any lumps, continue whisking until everything is smooth and homogenous. This will help ensure that your donuts have an even texture throughout.
Crafting the Donut Dough
Now that you have both your dry and wet ingredients prepared, it’s time to bring them together to create the donut dough.
1. Gentle Mixing to Avoid Overworking: Pour the wet mixture into the well of the dry ingredients. Using a spatula or wooden spoon, gently fold the wet ingredients into the dry until just combined. Be careful not to overmix, as this can lead to tough donuts. The key is to mix until there are no dry streaks of flour, but the dough should still be slightly lumpy.
2. Understanding Desired Dough Texture: The final dough should be soft and slightly sticky, which is a good indicator that you’re on the right track. If the dough feels too dry, you can add a splash of buttermilk to achieve the right consistency. Remember, a soft dough will yield the melt-in-your-mouth texture we’re aiming for.
As you move through these initial steps, remember that patience and attention to detail are your best friends in the kitchen. Each ingredient plays a crucial role in the end result, and taking the time to understand their functions will lead to a successful batch of donuts. In the next part of this article, we will delve into the frying process and how to create that luscious glaze that makes these donuts truly irresistible. Stay tuned for more deliciousness!
Chilling the Dough
Chilling the dough for your melt-in-your-mouth glazed donuts is a crucial step that should not be overlooked. After mixing your ingredients and kneading the dough, it’s essential to wrap it tightly in plastic wrap and place it in the refrigerator for at least one hour. This step serves multiple purposes.
Firstly, chilling the dough makes it much easier to handle. Warm dough tends to be sticky and challenging to shape, which can lead to frustration while rolling out or cutting your donuts. When chilled, the fat within the dough solidifies, resulting in a firmer texture that holds its shape better during frying.
Secondly, the chilling process significantly impacts the texture of the donuts. When you fry the dough at the correct temperature, the cold dough creates steam, which contributes to a light and airy inside while ensuring a beautifully crisp exterior. This is one of the secrets to achieving that melt-in-your-mouth quality that everyone loves.
Shaping the Donuts
Once your dough has chilled sufficiently, it’s time to shape your donuts. Start by flouring your work surface to prevent sticking. Roll out the dough to a thickness of about half an inch. It’s essential to roll it out evenly for consistent cooking.
When it comes to cutting your donuts, using the correct tools can make all the difference. A donut cutter is ideal, as it has two rings: one for the outer edge and a smaller one for the hole in the center. If you don’t have a donut cutter, you can use two round cookie cutters of different sizes. Just be sure to cut the center hole out of each donut without twisting the cutter, as twisting can seal the edges and prevent the donut from rising properly during frying.
After cutting your donuts, it’s best to gently transfer them to a lightly floured baking sheet. This will make it easier to handle them while you prepare for frying.
Frying the Donuts
Frying is where the magic happens, transforming your raw dough into golden, fluffy donuts. For the best results, use a heavy-bottomed pot or a deep fryer filled with at least two inches of vegetable oil. The oil temperature should be between 350°F to 375°F. A kitchen thermometer is a valuable tool here; it ensures that your oil remains at the right temperature throughout the frying process.
Fry the donuts in small batches, carefully lowering them into the hot oil to avoid splashes. This not only helps maintain the oil temperature but also ensures that each donut cooks evenly. Fry them for about 1 to 2 minutes on each side, or until they achieve a rich golden brown color. You can tell when donuts are perfectly cooked by their color and by gently pressing on them; they should spring back slightly when done.
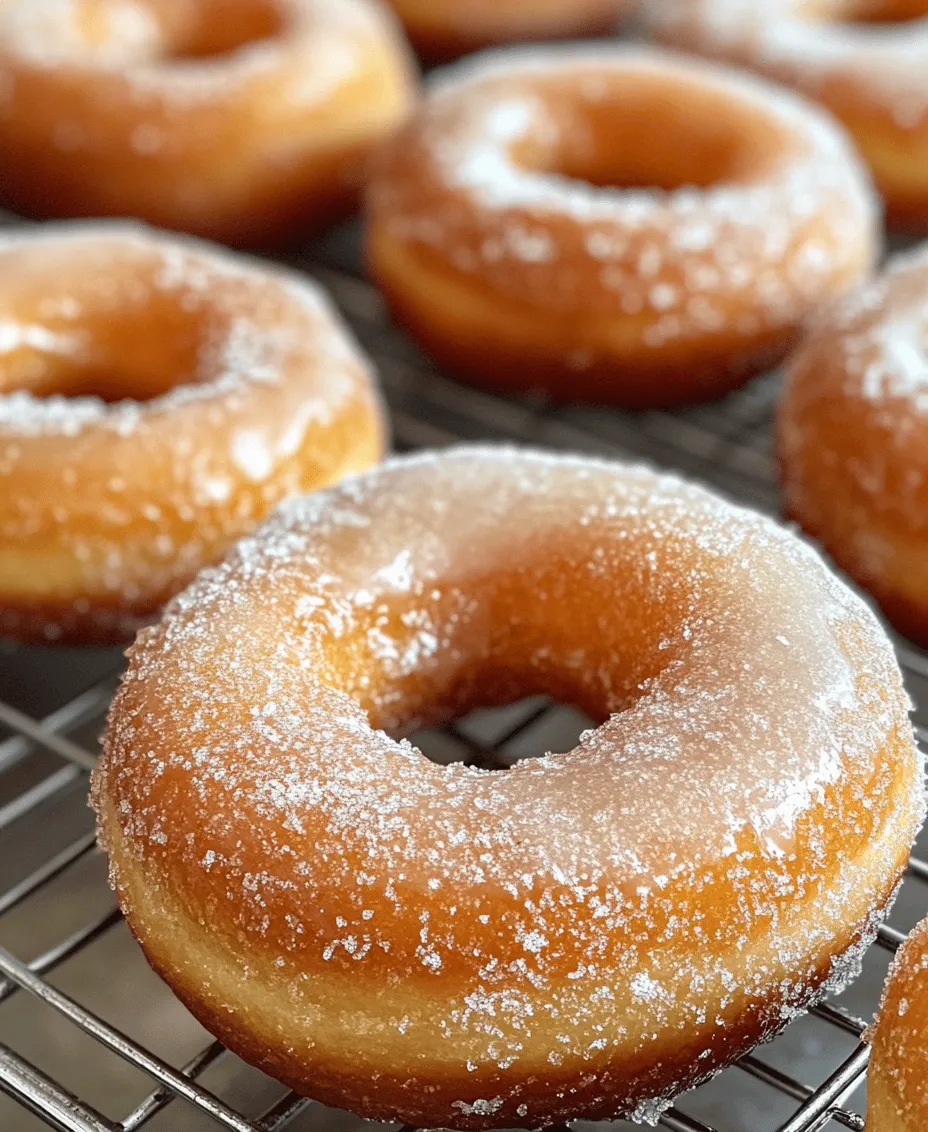
Once fried, remove the donuts from the oil using a slotted spoon and let them drain on a wire rack lined with paper towels. This will help remove excess oil and keep the exterior crisp.
Preparing the Glaze
Now that your donuts are fried and cooled slightly, it’s time to prepare the glaze. For the perfect glaze consistency, you’ll want to combine powdered sugar, milk, and vanilla extract in a bowl. Start with a 2:1 sugar to milk ratio and adjust as necessary. The glaze should be thick enough to coat the back of a spoon but thin enough to drizzle smoothly over the donuts.
The balance of flavors is essential when making the glaze; a touch of vanilla enhances the sweetness, while a pinch of salt can cut through the richness, creating a more balanced flavor profile. This is where you can get creative by adding other flavors such as almond extract or a sprinkle of cinnamon for an extra kick.
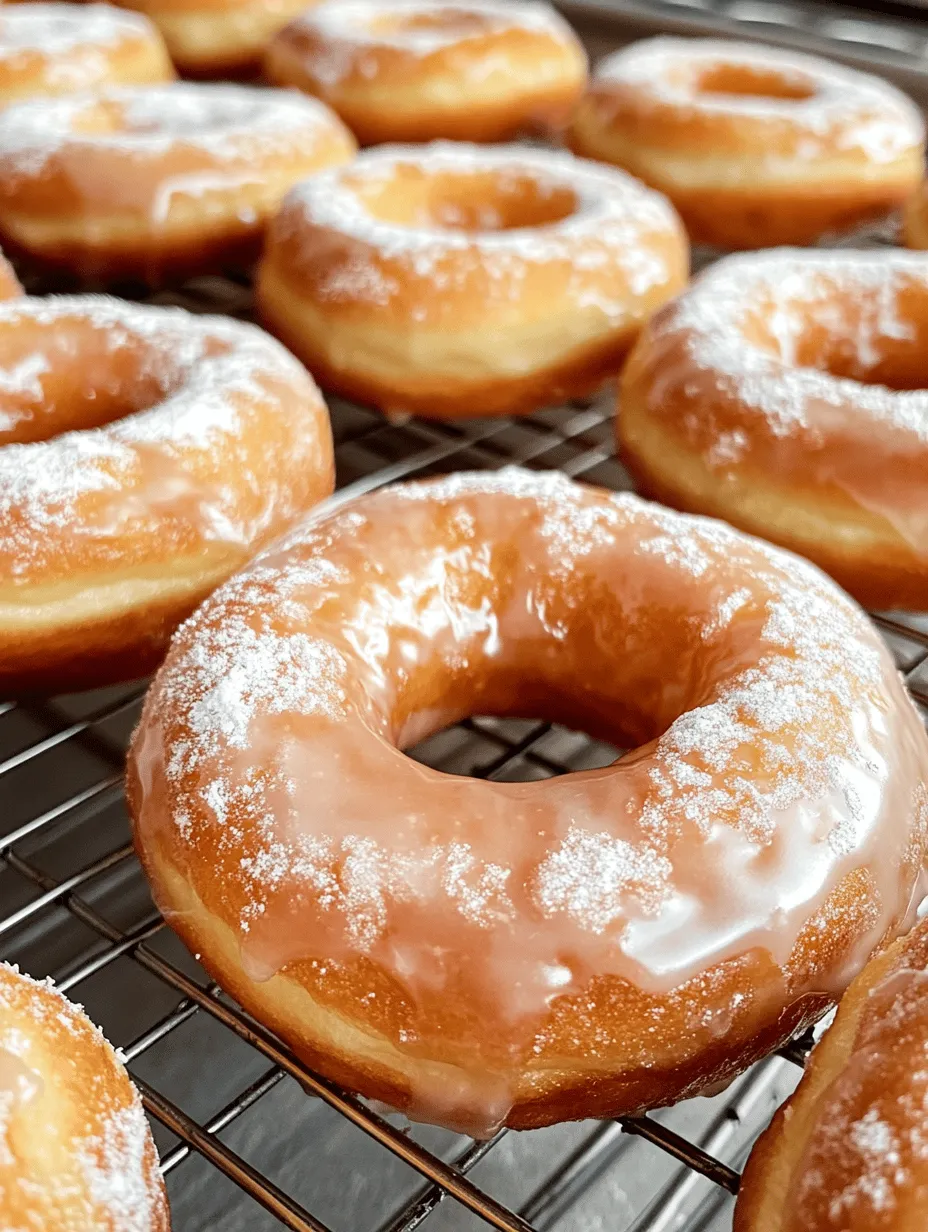
Glazing the Donuts
When it comes to glazing your donuts, there are a few techniques to ensure an even finish. One popular method is to dip each donut into the glaze while it’s still warm. This allows the glaze to adhere better. Hold the donut by its edges and dip the top half into the glaze, allowing any excess to drip off.
For a more decorative approach, you can use a spoon to drizzle glaze over the donuts instead. This can create a beautiful, artisanal look that enhances their presentation. Once glazed, place the donuts on a wire rack to set. If you want to add sprinkles or toppings, do so immediately after glazing while the glaze is still wet, so they stick well.
Serving Suggestions
Melt-in-your-mouth glazed donuts are delightful on their own, but you can enhance the experience even further with some serving suggestions. Pairing them with a piping hot cup of coffee or a soothing cup of tea can make for a perfect breakfast or afternoon treat. The bitterness of coffee beautifully complements the sweetness of the glaze, while tea offers a lighter alternative.
For a more indulgent experience, serve your donuts with a cold glass of milk or even chocolate milk. This combination is sure to satisfy any sweet tooth and is particularly appealing to children.
If you’re looking to impress guests at a special occasion, consider arranging the donuts on a decorative platter and garnishing with fresh berries or mint leaves. This not only adds a pop of color but elevates the visual appeal, making your homemade donuts the star of the show.
Nutritional Information
While homemade glazed donuts are a delicious treat, it’s important to be mindful of their nutritional aspects. Typically, one glazed donut contains around 200-300 calories, depending on the size and ingredients used. They are often high in sugar and fats, so moderation is key.
For those who enjoy these donuts as an occasional indulgence, consider portion sizes. Sharing a batch with family or friends can make the experience more enjoyable while keeping individual servings in check. You can also experiment with healthier ingredients, such as using whole wheat flour or reducing sugar, to create a lighter version that still maintains that melt-in-your-mouth quality.
Conclusion
Creating melt-in-your-mouth glazed donuts is not just about the final product; it’s about the entire experience of making them. From the anticipation of watching the dough rise to the joy of witnessing them transform in hot oil, every step is filled with potential. The rich aroma of frying donuts mingling with sweet vanilla glaze is sure to bring smiles to anyone’s face.
As you take that first bite of your homemade glazed donut, savor the combination of the fluffy interior and the sweet glaze that perfectly coats the outside. This recipe is not just a culinary endeavor; it’s an opportunity to create lasting memories with loved ones. So gather your family and friends, share this delightful recipe, and enjoy the sweet rewards of your efforts together.