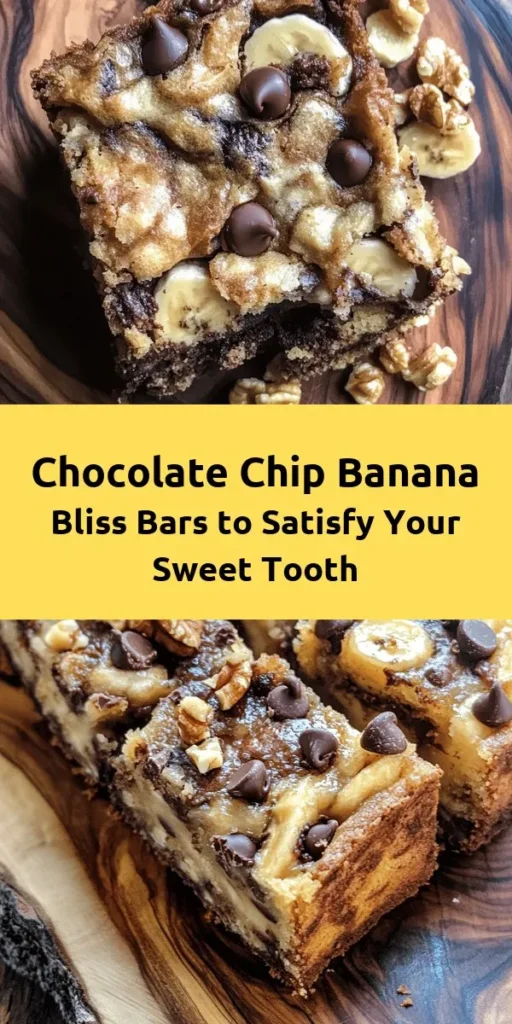
Introduction
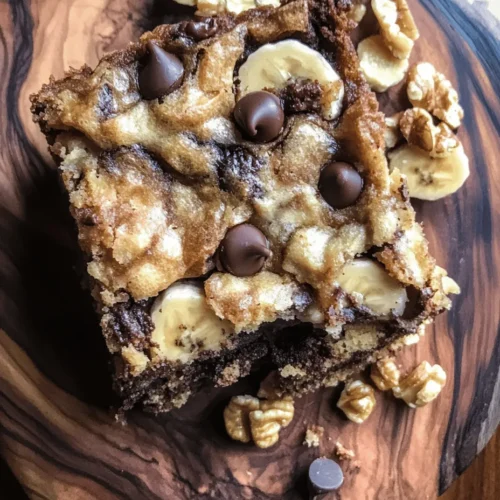
Banana-based desserts have taken the culinary world by storm, captivating both the young and the young-at-heart with their rich flavors and delightful textures. Among these, the Chocolate Chip Banana Bliss Bars stand out as a perfect fusion of moist banana goodness and rich, melty chocolate. This recipe offers a wholesome treat that is not only delicious but also easy to prepare, making it a favorite for bakers of all skill levels. Whether you’re a novice eager to impress friends or an experienced baker looking for a new go-to dessert, these bliss bars promise satisfaction with every bite.
One of the standout features of this recipe is the health benefits packed within its ingredients. Bananas are known for their natural sweetness and nutritional profile, offering essential vitamins and minerals, including potassium and vitamin C. When paired with walnuts, they provide a hearty dose of omega-3 fatty acids, fiber, and protein, transforming a simple dessert into a healthier option. This makes Chocolate Chip Banana Bliss Bars not just a guilty pleasure but also a smart choice for those looking to indulge without compromising on health.
The simplicity of the preparation process further enhances the appeal of these bliss bars. In just a few steps, you can create a scrumptious treat that fills your kitchen with an inviting aroma and leaves everyone asking for seconds. So, roll up your sleeves, and let’s dive into the delightful world of Chocolate Chip Banana Bliss Bars!
The Allure of Banana Desserts
Banana desserts have a timeless charm that resonates across cultures. From the classic banana bread enjoyed at breakfast tables to the decadent banana cream pie often found at holiday gatherings, bananas bring a comforting familiarity to our culinary experiences. Their natural sweetness and soft texture make them an ideal ingredient for baking, allowing for a variety of creative interpretations.
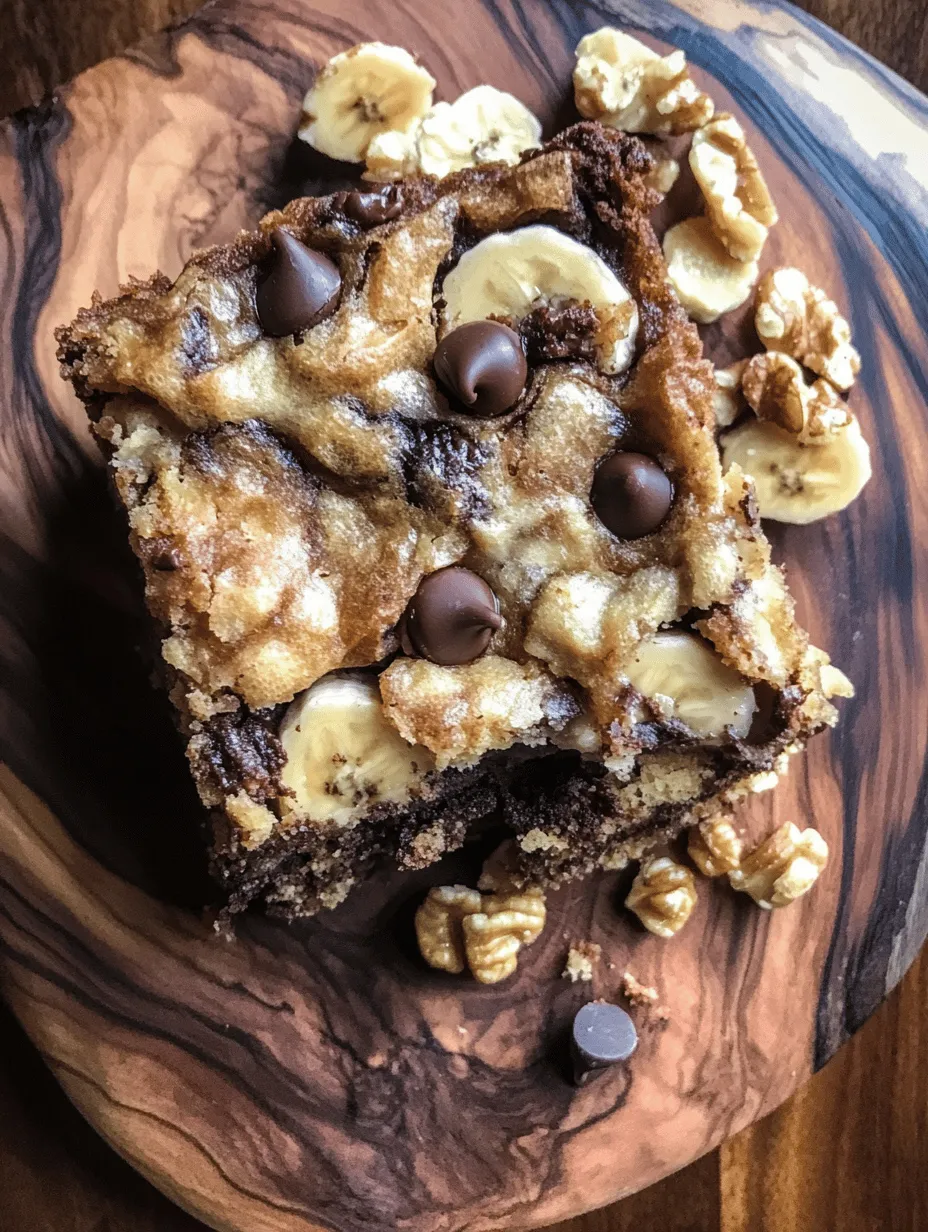
The versatility of bananas in baking cannot be overstated. They can be used in everything from muffins and pancakes to cakes and cookies, each time enhancing the dish with their unique flavor and moisture. The beauty of bananas lies not only in their ability to complement other ingredients but also in their ability to stand alone as the star of the dish. When it comes to flavor pairings, chocolate is undoubtedly one of the best companions for bananas. The rich, creamy notes of chocolate balance the sweetness of ripe bananas, creating a harmonious blend that tantalizes the taste buds.
As you prepare to make your Chocolate Chip Banana Bliss Bars, you’ll discover how the combination of these two beloved ingredients elevates your dessert to new heights. The result is a satisfying treat that evokes nostalgia while providing a modern twist.
Ingredients Breakdown
To achieve the perfect Chocolate Chip Banana Bliss Bars, it’s essential to understand the role of each ingredient in the recipe. Here’s a detailed look at what you’ll need and how each component contributes to the final product:
Ripe Bananas
The star ingredient in this recipe, ripe bananas provide natural sweetness and moisture. The more spots on the banana peel, the sweeter and softer the fruit becomes, making it ideal for baking. Ripe bananas not only enhance the flavor but also contribute to the bars’ moist texture, ensuring that they remain tender and flavorful.
Unsalted Butter
Butter is a crucial ingredient that adds richness and flavor to your bliss bars. Using unsalted butter allows you to control the amount of salt in the recipe, ensuring a well-balanced flavor. The fat in the butter helps create a tender crumb in the bars, enhancing their overall texture.
Brown Sugar vs. Granulated Sugar
In this recipe, both brown sugar and granulated sugar play important roles. Brown sugar, with its higher moisture content and molasses flavor, contributes to a chewy texture and a deeper taste. On the other hand, granulated sugar adds sweetness and helps with the overall structure of the bars. The combination of the two sugars results in a perfectly balanced sweetness and a delightful texture.
Baking Powder and Baking Soda
These leavening agents are essential for achieving the right texture in your bliss bars. Baking powder is a complete leavener, providing lift and lightness, while baking soda requires an acid to activate it, helping to create a tender crumb. Together, they ensure that your bars rise beautifully and have a soft, cake-like consistency.
Chocolate Chips
No chocolate chip recipe is complete without chocolate chips! You can choose from various types such as semi-sweet, dark, or even white chocolate, depending on your preference. Each type brings its own flavor profile, from the classic sweetness of semi-sweet to the rich intensity of dark chocolate. The melted chocolate chips create pockets of gooey goodness throughout the bars, making each bite a decadent experience.
Optional Walnuts
While walnuts are optional, they offer both nutritional benefits and a delightful crunch. Rich in healthy fats, protein, and antioxidants, walnuts enhance the health profile of the bars while providing a contrasting texture that complements the softness of the bananas and chocolate. If you’re not a fan of nuts or have allergies, feel free to omit them without sacrificing the overall flavor.
Step-by-Step Preparation Guide
Now that you have all your ingredients ready, it’s time to get started on preparing your Chocolate Chip Banana Bliss Bars. Follow this step-by-step guide to ensure your baking experience is smooth and successful.
Preheating the Oven
Before you begin mixing your ingredients, it’s crucial to preheat your oven to 350°F (175°C). Preheating ensures that your bars bake evenly, allowing them to rise properly and develop a lovely golden crust. An oven thermometer can help you verify that the temperature is accurate, as an oven that’s too hot or too cold can significantly affect the texture and doneness of your bars.
Mashing Bananas
Next, it’s time to prepare the bananas. Place your ripe bananas in a mixing bowl and use a fork or a potato masher to mash them until smooth. Aim for a consistency that still has a few small chunks, as this will add texture to your bars. The natural sweetness of the bananas will shine through in the final product, so make sure to use ripe ones for the best flavor.
Mixing Wet Ingredients
In a separate bowl, combine the mashed bananas with the unsalted butter, brown sugar, and granulated sugar. Use a whisk or an electric mixer to blend these ingredients until smooth and creamy. This step is essential for ensuring that the sugars dissolve properly and incorporate well with the butter and bananas, resulting in a uniform batter. Don’t forget to scrape down the sides of the bowl to ensure all ingredients are fully mixed together.
Once the wet ingredients are well combined, it’s time to add in the eggs, one at a time, mixing well after each addition. This will help to create a cohesive batter and ensure that the eggs are evenly distributed throughout the mixture.
Incorporating Dry Ingredients
In a separate bowl, whisk together the flour, baking powder, baking soda, and a pinch of salt. Gradually add the dry ingredients to the wet mixture, stirring gently until just combined. Be careful not to overmix, as this can lead to tough bars. The goal is to incorporate the flour without leaving any dry pockets, resulting in a tender, light texture.
Once the batter is combined, fold in the chocolate chips and optional walnuts, ensuring they are evenly distributed throughout the mixture. The chocolate chips should be scattered throughout the batter, creating a deliciously chocolatey experience in every bite.
By following these steps, you will be well on your way to creating your own Chocolate Chip Banana Bliss Bars that are sure to impress. The combination of ripe bananas, rich chocolate, and optional crunchy walnuts creates a dessert that is not only satisfying but also nourishing. As you embark on this baking adventure, you’ll find that these bliss bars are a delightful treat that brings joy to any occasion.
Combining Dry Ingredients
When preparing your Chocolate Chip Banana Bliss Bars, the first critical step involves combining the dry ingredients effectively. Proper mixing ensures uniform flavor and texture in your bars. Start by measuring out your dry components: all-purpose flour, baking soda, baking powder, and a pinch of salt. Use a whisk to thoroughly mix these ingredients together in a separate bowl. This process not only helps to aerate the flour but also ensures that the baking powder and baking soda are evenly distributed throughout the mixture, which is vital for the leavening of the bars.
Always sift the flour, especially if it has been stored for a long time. This breaks up any clumps and allows for a smoother batter. Remember, the key to delicious baked goods is in the details, and this step lays the foundation for a perfect texture in your bars.
Blending Wet and Dry Ingredients
Once your dry ingredients are well-combined, it’s time to blend them with the wet ingredients. The wet mixture usually consists of ripe bananas, eggs, melted butter, and vanilla extract. When combining the wet and dry ingredients, it’s important not to overmix. Overmixing can lead to a dense and tough texture in your bars.
Instead, use a spatula or wooden spoon to gently fold the wet ingredients into the dry ingredients until just combined. It’s okay if there are a few lumps; this will help keep your bars tender and light. The goal here is to incorporate the ingredients without developing the gluten too much.
Adding Chocolate Chips and Walnuts
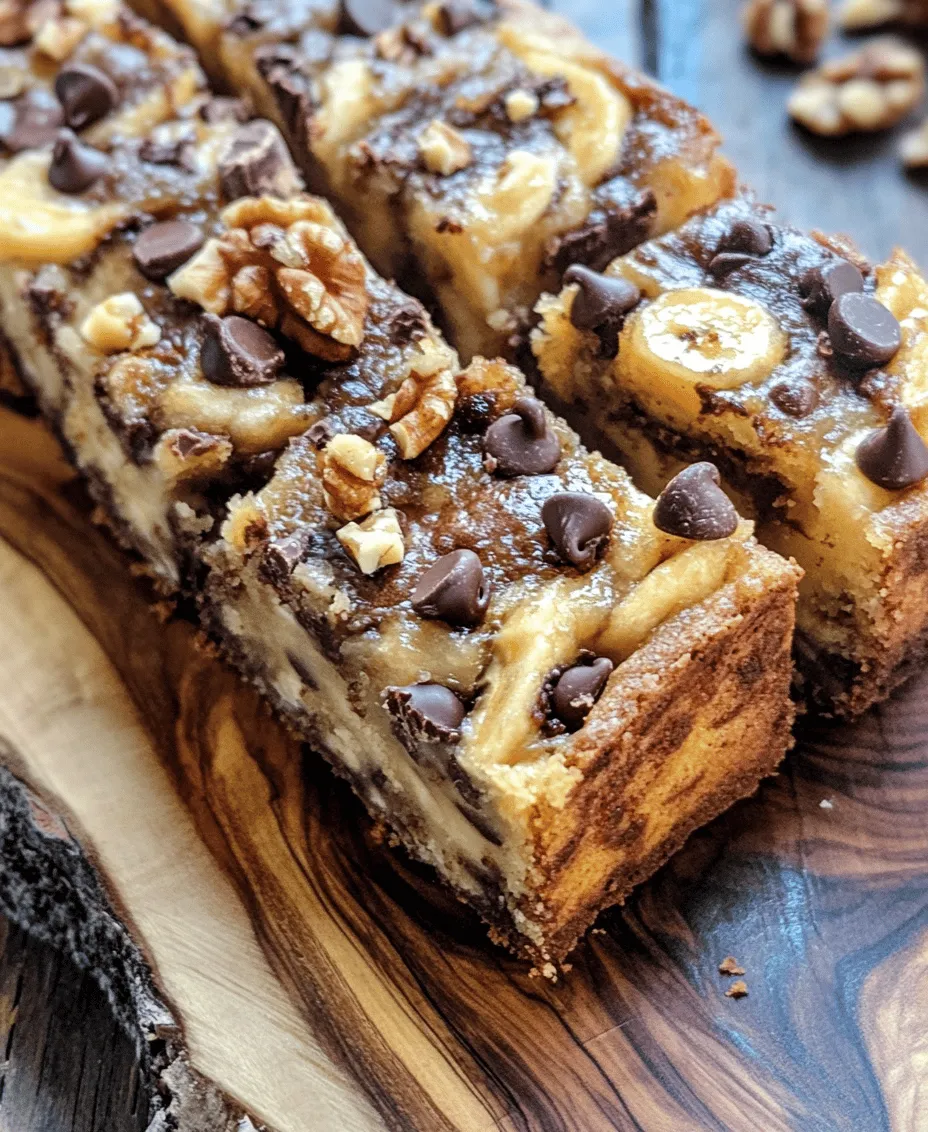
Next, it’s time to add the star ingredients: chocolate chips and walnuts. For an even distribution, sprinkle the chocolate chips and chopped walnuts over the batter rather than dumping them in all at once. This technique allows for better mixing without overworking the batter. Using a spatula, fold the chocolate chips and walnuts into the batter gently but thoroughly.
This step not only enhances the flavor with every bite but also adds delightful textures that complement the moistness of the banana bars. If you prefer a richer chocolate flavor, consider using dark chocolate chips or even a combination of dark and milk chocolate.
Baking Process
Pouring the Batter
Once your batter is mixed to perfection, it’s time to pour it into your prepared baking pan. Use a spatula to scrape all the batter from the mixing bowl, ensuring none of the deliciousness is left behind. Pour the batter into the pan, starting from the center and gently spreading it out toward the edges. This technique helps create a level surface, which is essential for even baking.
Baking Time and Temperature
Preheat your oven to 350°F (175°C) prior to pouring your batter. Place the baking pan in the center of the oven and bake for approximately 25-30 minutes. To determine doneness, perform the toothpick test: insert a toothpick into the center of the bars, and if it comes out clean or with a few moist crumbs, they are ready to be removed from the oven.
Be mindful not to overbake, as this can lead to dry bars. The edges should be golden brown, while the center may still look slightly undercooked, as they will continue to cook while cooling in the pan.
Cooling Techniques
Once baked, remove the pan from the oven and place it on a wire rack to cool. Allowing the bars to cool in the pan for about 10-15 minutes before transferring them to the rack is essential. This helps maintain their shape and prevents them from crumbling. Let the bars cool completely before slicing; this not only enhances their flavor but also improves their texture, making them easier to cut.
Serving Suggestions
The Chocolate Chip Banana Bliss Bars can be enjoyed in several delightful ways. For a more indulgent treat, serve them warm with a scoop of vanilla ice cream or a dollop of whipped cream. The combination of warm banana bars and cold ice cream creates a delightful contrast that is sure to impress.
For an added touch of sophistication, consider drizzling melted chocolate or caramel sauce over the bars before serving. You can also garnish them with fresh fruit, such as banana slices or strawberries, for a burst of color and flavor.
These bars are perfect for various occasions, including birthday parties, family gatherings, or as a wholesome snack for picnics. They transport well, making them an ideal choice for potlucks or bake sales.
Nutritional Information
Chocolate Chip Banana Bliss Bars are not just delicious; they also offer several nutritional benefits. Bananas are rich in potassium, fiber, and vitamin C, contributing to a healthy diet. The addition of walnuts provides a source of healthy fats and protein, while chocolate chips can offer antioxidants.
When considering the overall balance of flavors and nutrients, each bar packs a satisfying combination of sweetness and richness without being overly indulgent. For those looking to make healthier substitutions, consider using whole wheat flour instead of all-purpose flour for added fiber and nutrients. You can also reduce the amount of sugar or replace it with a natural sweetener like honey or maple syrup to tailor the recipe to your dietary needs.
Storage Tips
To maintain the freshness of your Chocolate Chip Banana Bliss Bars, store them in an airtight container at room temperature for up to three days. If you want to keep them longer, consider freezing them. Wrap each bar individually in plastic wrap and place them in a freezer-safe bag or container. They can be frozen for up to three months.
To enjoy, simply thaw them at room temperature or pop them in the microwave for a few seconds to bring back their original warmth and texture.
Conclusion
Making Chocolate Chip Banana Bliss Bars is a rewarding experience that results in a delicious treat perfect for any occasion. From the simple act of mixing ingredients to the delightful aroma of baking in your kitchen, each step is an opportunity to enjoy the process of creating something wonderful.
Encourage your family and friends to join in on the fun of baking, and don’t hesitate to experiment with the recipe to make it your own. Whether you add different nuts, use a variety of chocolate, or try out new flavor additions, the joy of baking and sharing these homemade treats will surely bring smiles to everyone’s faces.