
Introduction
As the temperature drops and the days grow shorter, there’s nothing quite like curling up with a warm cup of hot chocolate. This comforting beverage is not only a delightful treat but also a nostalgic reminder of cozy winter evenings spent by the fireplace. The rich and creamy goodness of hot chocolate can elevate any chilly day, making it an essential indulgence during the colder months. While many may reach for store-bought options, making a homemade hot chocolate mix is a fantastic way to enjoy this classic drink.
Crafting your own hot chocolate mix allows chocolate lovers to customize their beverage to suit personal tastes, ensuring each cup is tailored to perfection. Whether you prefer it sweet, rich, or with a hint of spice, the possibilities are endless. Not only does homemade hot chocolate give you full control over the flavor and sweetness, but it also means you can use fresh, high-quality ingredients. This article will guide you through the process of creating a decadent homemade hot chocolate mix, perfect for warming your soul and satisfying your sweet tooth.
Understanding the Ingredients
Before diving into the preparation of your hot chocolate mix, it’s crucial to understand the role of each ingredient. Each component contributes to the overall flavor and texture of your final product. Below, we’ll explore the key ingredients that make up this delicious concoction.
Cocoa Powder
At the heart of any great hot chocolate is cocoa powder. This ingredient is responsible for delivering that rich chocolate flavor we all crave. Cocoa powder is derived from cocoa beans, which are fermented, dried, roasted, and then ground into a fine powder. When selecting cocoa powder, you’ll typically encounter two varieties: natural and Dutch-processed.
Natural cocoa powder has a light color and a slightly acidic flavor, which makes it ideal for recipes that call for baking soda as a leavening agent. On the other hand, Dutch-processed cocoa powder is treated with an alkalizing agent to neutralize its acidity, resulting in a darker color and a smoother, more mellow flavor. When making hot cocoa, Dutch-processed cocoa can provide a richer taste, so consider using it for a more indulgent mix.
Powdered Sugar
Next up is powdered sugar, also known as confectioners’ sugar, which is essential for sweetening your hot chocolate mix. This finely ground sugar dissolves easily in liquids, creating a smooth and velvety texture that is crucial for a delicious hot chocolate. The sweetness level can be adjusted based on personal preference, making it easy to tailor your mix to your liking.
For those looking to explore alternatives to traditional powdered sugar, there are several options available. Coconut sugar, for example, offers a lower glycemic index and a hint of caramel flavor, while powdered stevia can provide sweetness without the calories. Experimenting with different sweeteners can lead to exciting flavor profiles that make your hot chocolate mix unique.
Powdered Milk
To achieve that creamy, indulgent mouthfeel, powdered milk is an excellent addition to your hot chocolate mix. This ingredient provides the richness and body that hot chocolate lovers adore while offering the convenience of a long shelf life. There are two main types to consider: non-fat powdered milk and whole powdered milk.
Non-fat powdered milk is a great option for those looking to reduce calories while still enjoying a creamy beverage. However, whole powdered milk contains more fat, resulting in a richer and creamier hot chocolate. Depending on your dietary preferences, you can choose the type that best suits your needs.
Semisweet Chocolate Chips
For those who crave an extra layer of richness, adding semisweet chocolate chips to your hot chocolate mix is a fantastic idea. These little morsels melt beautifully when mixed with hot liquid, creating a luscious chocolate experience. You can also explore other types of chocolate such as dark chocolate chips or milk chocolate chips to find the perfect balance that suits your taste buds.
Salt
While it may seem counterintuitive to add salt to a sweet treat, a pinch of salt can significantly enhance the flavors of your hot chocolate. Salt works to balance the sweetness and intensify the chocolate flavor, making each sip even more satisfying. When selecting salt for your mix, consider using sea salt for a more complex flavor, or stick with traditional table salt for simplicity.
Vanilla
Lastly, vanilla is the finishing touch that can elevate your hot chocolate mix to new heights. This ingredient adds depth and complexity to the flavor profile, creating a more rounded taste. You can choose between vanilla extract and vanilla powder when preparing your mix. Vanilla extract is a liquid, making it easy to incorporate, while vanilla powder is a concentrated form that can provide a more potent flavor. Both options have their merits, so feel free to use what you have on hand or your preferred method.
Step-by-Step Instructions
Now that you have a solid understanding of the ingredients, it’s time to get started on your decadent homemade hot chocolate mix. Follow these detailed instructions to create a delightful blend that you can enjoy whenever the mood strikes.
Preparation of the Hot Chocolate Mix
1. Gather Your Ingredients: Start by assembling all your ingredients on a clean, flat surface. You’ll need cocoa powder, powdered sugar, powdered milk, semisweet chocolate chips, salt, and vanilla.
2. Measure the Ingredients: Using measuring cups and spoons, carefully measure out the following quantities:
– 1 cup of cocoa powder
– 2 cups of powdered sugar
– 1 cup of powdered milk
– 1 cup of semisweet chocolate chips (optional)
– 1/4 teaspoon of salt
– 1 teaspoon of vanilla extract or powder
3. Combine Dry Ingredients: In a large mixing bowl, add the cocoa powder, powdered sugar, powdered milk, and salt. Use a whisk to thoroughly combine these dry ingredients, breaking up any clumps to ensure a uniform mix.
4. Incorporate Chocolate Chips: If you’re using chocolate chips for added richness, you can either fold them into the dry mix or process them separately. For a smoother blend, consider using a food processor:
– Place the chocolate chips into the food processor and pulse until they are finely chopped, resembling a coarse flour.
– Add the chopped chocolate to the dry mixture, stirring to combine.
5. Mix in Vanilla: If you’re using vanilla extract, pour it over the dry mixture and stir well to incorporate. If you prefer vanilla powder, sprinkle it directly into the mix and whisk until evenly distributed.
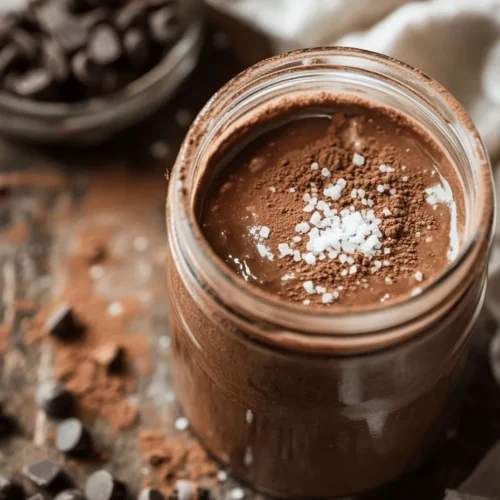
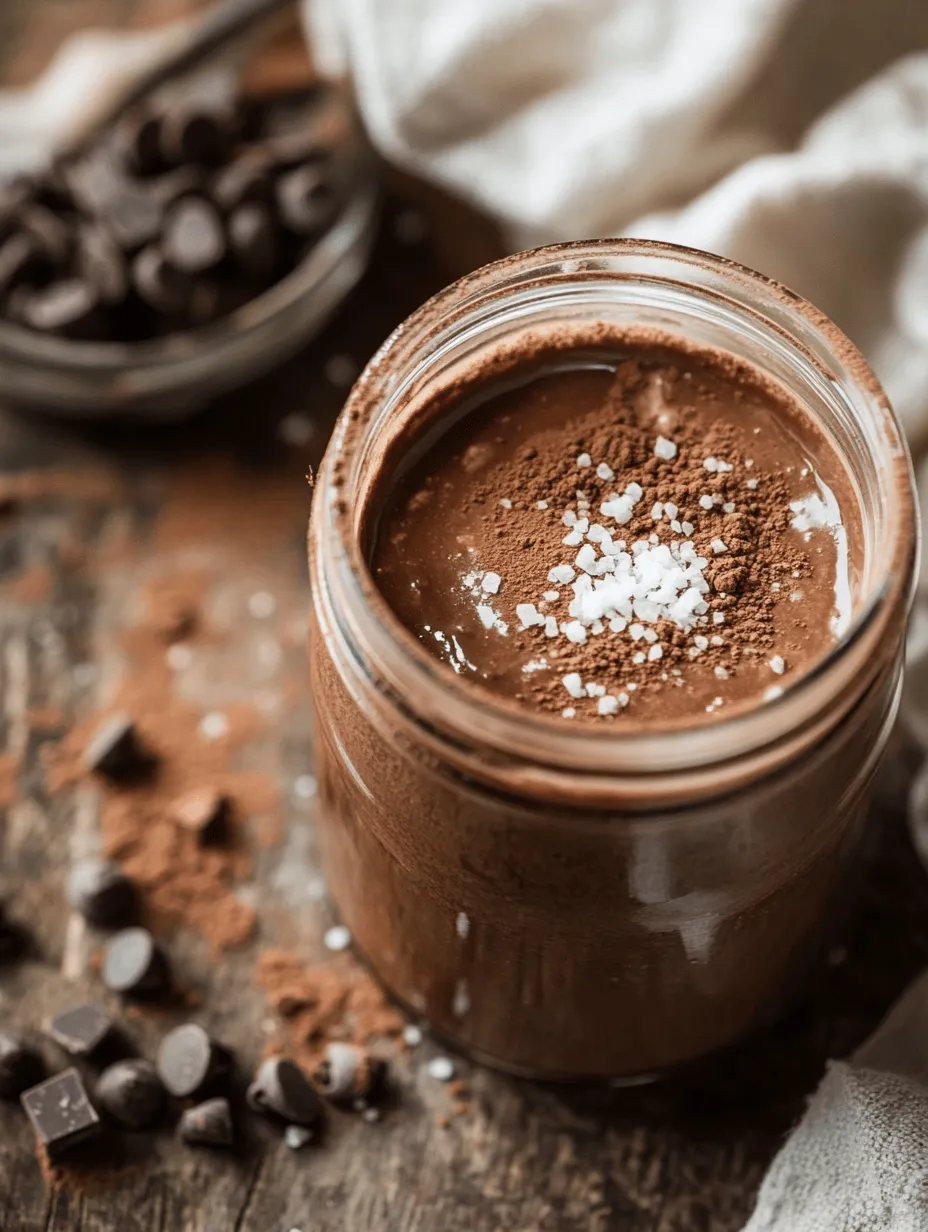
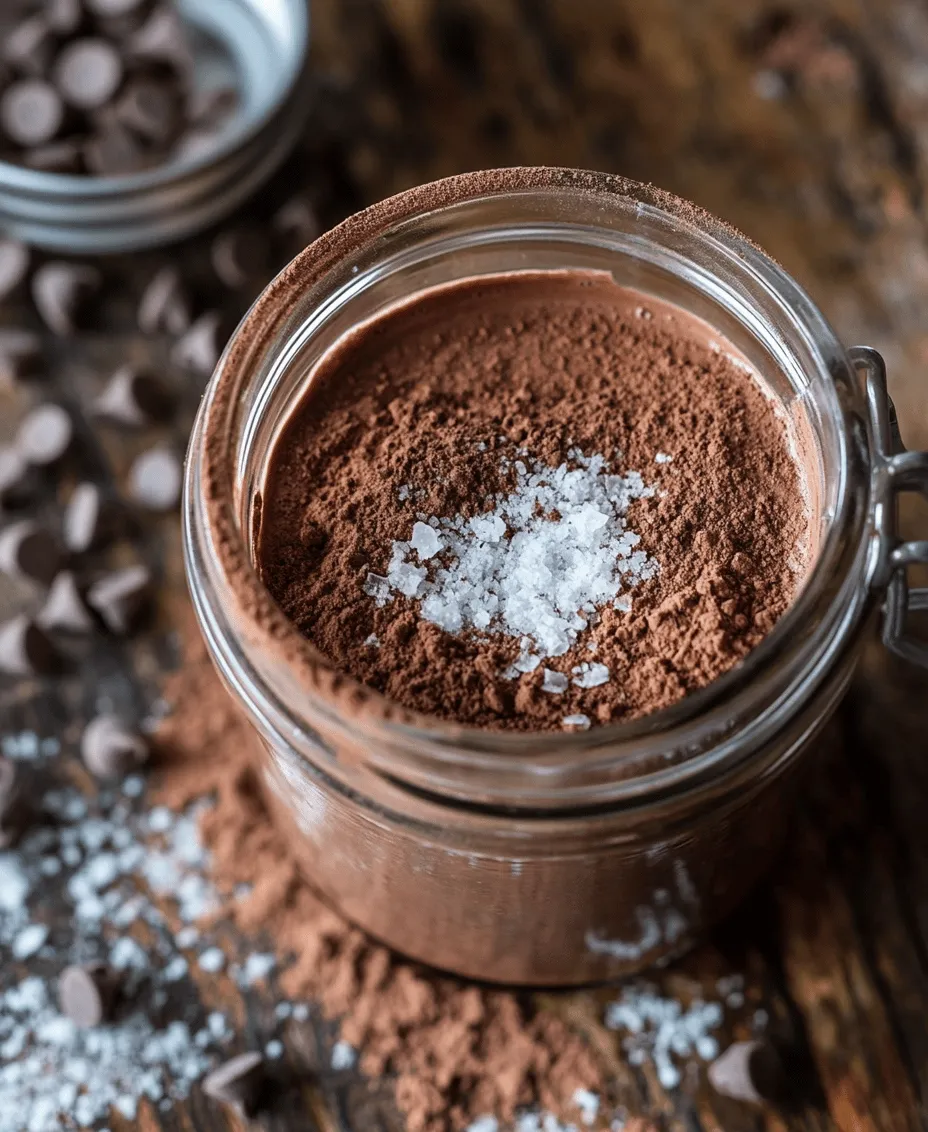
6. Store the Mix: Once all the ingredients are thoroughly combined, transfer your hot chocolate mix into an airtight container or a glass jar. Be sure to label it with the date and contents for easy access.
7. Enjoy: To prepare a delicious cup of hot chocolate, simply add two to three tablespoons of your homemade mix to a mug of hot milk or water. Stir well until fully dissolved, and enjoy the comforting warmth of your homemade creation.
By following these steps, you’ll be well on your way to enjoying a decadent hot chocolate experience that’s personalized to your taste. This mix not only makes a fantastic treat for yourself but also serves as a thoughtful gift for friends and family during the colder months. Stay tuned for the next part of this article, where we will delve deeper into tips for best results, common questions, and additional ideas to elevate your homemade hot chocolate experience.
Storage Solutions
To enjoy your homemade hot chocolate mix at its best, proper storage is key. Here are some effective practices to maintain its freshness and flavor.
Best Practices for Storing the Hot Chocolate Mix
1. Cool and Dry Place: Store your hot chocolate mix in a cool, dry location, away from direct sunlight, heat sources, and moisture. This prevents the ingredients from clumping together and losing their flavor.
2. Airtight Containers: Use airtight containers to keep air and moisture out. Glass jars with tight-fitting lids, plastic containers with snap-on lids, or vacuum-sealed bags are excellent choices. These containers not only preserve the mix but also allow you to see the visually appealing layers.
3. Labeling: Clearly label your containers with the contents and the date of preparation. This will help you keep track of freshness and will make it easier to use your mix in the future.
4. Shelf Life: Generally, your homemade hot chocolate mix can last up to six months if stored correctly. However, for the best flavor and quality, try to use it within three months.
Ideas for Containers That Are Both Functional and Aesthetically Pleasing
When it comes to choosing containers, consider both functionality and aesthetics:
– Mason Jars: These are a popular choice due to their durability and classic look. They can be decorated with ribbons or labels for a personal touch.
– Ceramic Canisters: These can add a decorative element to your kitchen while keeping your mix fresh. Choose canisters with airtight seals to ensure maximum freshness.
– Tin Tie Bags: These are perfect for gifting and have the added benefit of being resealable. They come in various designs and colors to match your kitchen decor.
– Clear Plastic Containers: Ideal for visibility, these are lightweight and can be easily labeled. They allow you to see the layers of your mixture, which can be quite appealing.
Brewing the Perfect Cup of Hot Chocolate
Now that you have your homemade hot chocolate mix stored properly, it’s time to brew the perfect cup.
Instructions on How to Prepare Hot Chocolate Using the Mix
1. Measure the Mix: For a delicious cup of hot chocolate, start with 2-4 tablespoons of your hot chocolate mix. Adjust the amount based on your personal preference for sweetness and richness.
2. Choose Your Liquid: You can use either milk or water to prepare your hot chocolate. Milk will yield a creamier and richer beverage, while water offers a lighter option.
3. Heat the Liquid: In a small saucepan, heat 1 cup of milk or water over medium heat. Stir occasionally to prevent scorching.
4. Add the Mix: Once the liquid is hot but not boiling, whisk in your measured hot chocolate mix until fully dissolved. If you prefer a frothy texture, use a handheld frother for a minute or so.
5. Taste and Adjust: Taste your hot chocolate and adjust the sweetness or chocolate intensity if needed. You can add a bit more mix or sugar based on your preferences.
6. Serve: Pour your hot chocolate into your favorite mug and enjoy it warm!
Recommendations for Customizing the Drink with Milk or Water
If you’re looking to customize your hot chocolate further, consider the following:
– Milk Alternatives: For a dairy-free version, substitute regular milk with almond milk, soy milk, oat milk, or coconut milk. Each option will impart a unique flavor to your hot chocolate.
– Temperature Control: If you like your drink extra hot, heat the liquid slightly longer, but be cautious not to let it boil, as boiling can alter the flavor and texture of your hot chocolate.
Serving Suggestions
To elevate your hot chocolate experience, consider various toppings and pairings.
Toppings and Add-ins
– Marshmallows: A classic choice, add mini marshmallows or gourmet marshmallows for a delightful touch. For a twist, consider roasting them over an open flame for a toasted flavor.
– Whipped Cream: Top your hot chocolate with a generous dollop of whipped cream. For added flair, consider drizzling chocolate or caramel sauce over the cream.
– Flavored Syrups: Enhance the flavor with syrups like peppermint, caramel, or hazelnut. A splash of flavored syrup can transform your drink into a gourmet treat.
– Seasonal Variations: For a holiday twist, add crushed peppermint candies for peppermint hot chocolate or a shot of espresso for a mocha version. Cinnamon sticks can also add a warm spice to your drink.
Pairing Ideas
The enjoyment of hot chocolate is often enhanced when paired with delicious snacks or desserts. Here are a few suggestions:
– Cookies: Classic chocolate chip cookies, snickerdoodles, or peppermint bark cookies make perfect companions to your hot chocolate.
– Pastries: Flaky croissants, rich danishes, or brownies can create a delightful balance with the rich flavor of hot chocolate.
– Cheese Boards: If you’re feeling adventurous, create a cheese board with chocolate pairings – think creamy brie with dark chocolate or cheddar with salted caramel.
Health Considerations
Nutritional Aspects of Homemade Hot Chocolate Mix
Creating your own hot chocolate mix allows you to control the ingredients, leading to potential health benefits. Cocoa is rich in antioxidants and may improve heart health, while making it at home gives you the ability to limit sugar and artificial additives.
For those concerned about sugar intake, you can adjust the sweetness of your mix or use natural sweeteners like stevia or honey. Additionally, using low-fat milk or milk alternatives can reduce calories without sacrificing taste.
Considerations for Those with Dietary Restrictions
Homemade hot chocolate can easily be adapted to meet various dietary needs:
– Gluten-Free: Ensure that all ingredients used (like cocoa powder and sugar) are certified gluten-free.
– Vegan Options: Substitute dairy milk with plant-based milk and ensure any added toppings, like whipped cream, are also dairy-free.
Customizing to Fit Dietary Needs
Feel free to tailor the recipe to your specific dietary preferences. Here are some ideas:
– Low-Sugar Options: Use unsweetened cocoa powder and opt for a sugar substitute if you’re monitoring your sugar intake.
– Flavor Infusions: Experiment with spices such as turmeric or cayenne for added health benefits and unique flavor profiles.
– Add Protein: Consider adding a scoop of protein powder or collagen for a boost, especially if you’re enjoying your hot chocolate after a workout.
The Joy of Homemade Gifts
Creating Gift Packages
Homemade hot chocolate mix makes for a thoughtful and delightful gift, especially during colder months. Package your mix in a beautiful jar or bag, and consider these additions:
– Mugs: Include a cute or personalized mug to enhance the gift.
– Gourmet Marshmallows: Pair your mix with gourmet marshmallows in various flavors, such as vanilla, chocolate, or peppermint.
– Recipe Card: Include a handwritten recipe card detailing how to prepare the perfect cup, along with any customization ideas.
Personal Touches
Adding personal touches can make your gift even more special. Consider the following:
– Decorative Jars: Use decorative jars and label them with the name of the mix and a brief description.
– Custom Tags: Create custom tags with messages like “Warm Wishes” or “Hot Chocolate Happiness” to add a heartfelt touch.
– Themed Gifts: For a more elaborate gift, consider creating a hot chocolate theme with items like a cozy blanket or a selection of cookies.
Conclusion
Creating your own homemade hot chocolate mix is not only a satisfying culinary endeavor but also a wonderful way to enjoy cozy moments with family and friends. The flexibility of the recipe allows you to customize it to fit your tastes and dietary needs, making it an ideal treat for any occasion.
As you experiment with flavors and toppings, you’ll discover endless variations that can enhance your hot chocolate experience. Whether you enjoy it on a chilly evening by the fire or as a shared moment during the holidays, your homemade hot chocolate mix will surely become a cherished tradition.
Encourage your loved ones to join you in this delicious adventure, and revel in the joy that comes from sharing warm, comforting cups of hot chocolate together.